
The A.P. Analysis nodes do not display on the CodeMaint menu unless they have been labelled in INI Maint> System. In a system that has not had the Supplier Analysis labels set up, the only node displayed below AC/Payable will be Payment Type.
(continued from A/C Receivable)
|
|
The A.P. Analysis nodes do not display on the CodeMaint menu unless they have been labelled in INI Maint> System. In a system that has not had the Supplier Analysis labels set up, the only node displayed below AC/Payable will be Payment Type. |
|
|
In this example system, Supplier Analysis 1 has been labelled Supplier Chain, Supplier Analysis 2 has been labelled Star Rating and Supplier Analysis 3 has been labelled Electronic Pay Flag. |
Using these codes in Suppliers (Creditors) enables reporting to be selectively based on the analysis codes. The analysis codes can be used in a wide variety of standard Bookings Reports as well as in the Excel based iSFinancial Analysis Reports.
Some examples of use include:
|
|
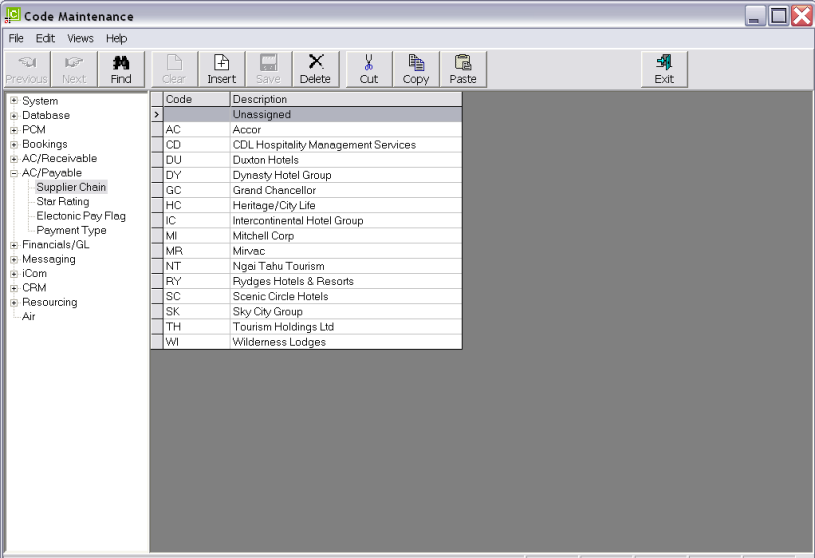
On initial entry to the Supplier Analyses nodes, any existing records will display. |
Screen Shot 106: Supplier Analysis Codes Scroll
|
|
The column headings at the top of the scroll are the only column headings available in this screen. |
To modify an existing Supplier analysis description, highlight the row and double click.
To delete an existing Supplier Analysis record, highlight the row and click the Delete button in the button bar.
|
|
The Code field cannot be changed. Supplier Analyses cannot be deleted if they have been attached to a Supplier. |
To create a new Analysis, click the Insert button in the button bar.
Screen Shot 107: Supplier Analysis Code Dialogue
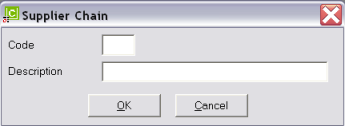
Code (2 Chars)
A code for the Analysis.
Description (40 Chars)
The analysis description.
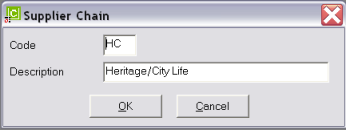
Screen Shot 108: Sample Completed Booking Analysis Detail
|
|
The Dialogue boxes inherit the Analysis label—e.g., Supplier Chain. |
OK
Click the OK button to save the Analysis record.
Cancel
Click Cancel to cancel setting up the Analysis record, or to return to the scroll.
When Supplier/Creditor payments (cash transactions) are entered into Tourplan, a Payment Type is applied to the transaction. The payment type has two uses. It is used to identify the type of payment—e.g., Trust Account, Trading Account, etc. and it can also have a General Ledger account attached which can re direct the credit side of the transaction (which is normally the Bank Account) to the account attached to the Payment Type.
Details on processing these transactions are in the Accounts Training Guide–1.
|
|
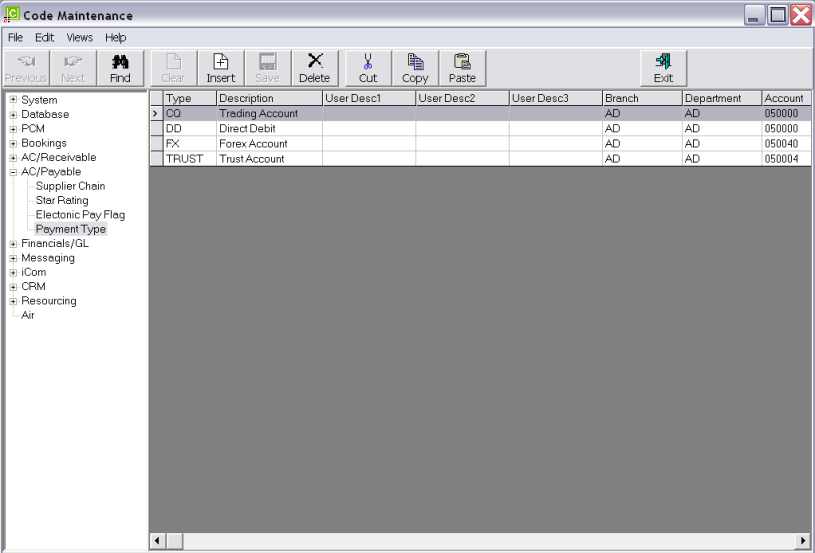
On initial entry to the Payment Type node, any existing records will display. |
Screen Shot 109: Payment Types Scroll
|
|
The column headings at the top of the scroll are the only column headings available in this screen. |
|
|
The examples listed in Screen Shot 109: Payment Types Scroll are representative of what Payment Types can be used for. The Payment Type CQ for example can be used to direct a payment value to the trading account, whilst the Payment Type TRUST can be used to direct payment values to the Trust Account. |
To modify an existing Payment Type, highlight the row and double click.
To delete an existing Payment Type, highlight the row and click the Delete button in the button bar.
|
|
The Type field cannot be changed. Payment Types cannot be deleted if they have been used in Supplier transactions. |
To create a new Payment Type, click the Insert button in the button bar.
Screen Shot 110: Payment Type Dialogue
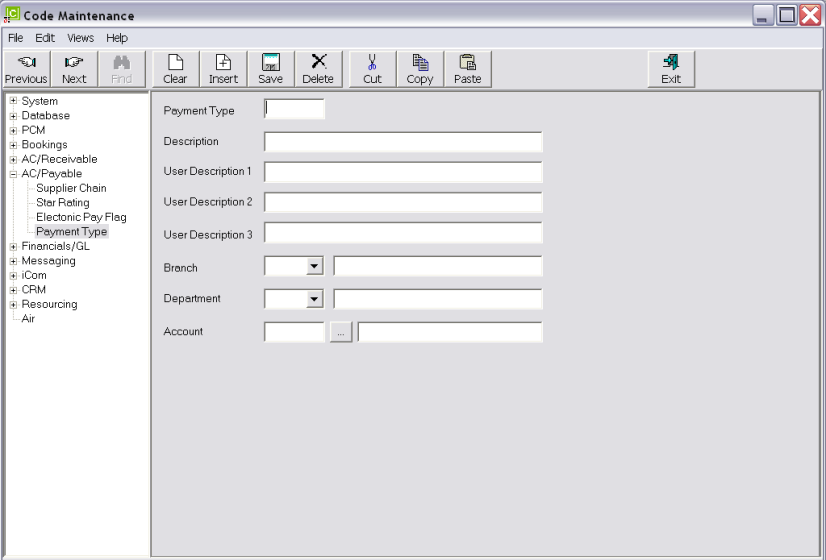
Payment Type (6 Chars)
A code for the Payment Type.
Description (30 Chars)
The Payment Type Description.
User Description 1–3 (30 Chars each)
The text in these three fields will display as labels for 3 text fields when the cheque is being issued.
Branch/Department/Account (Drop-downs)
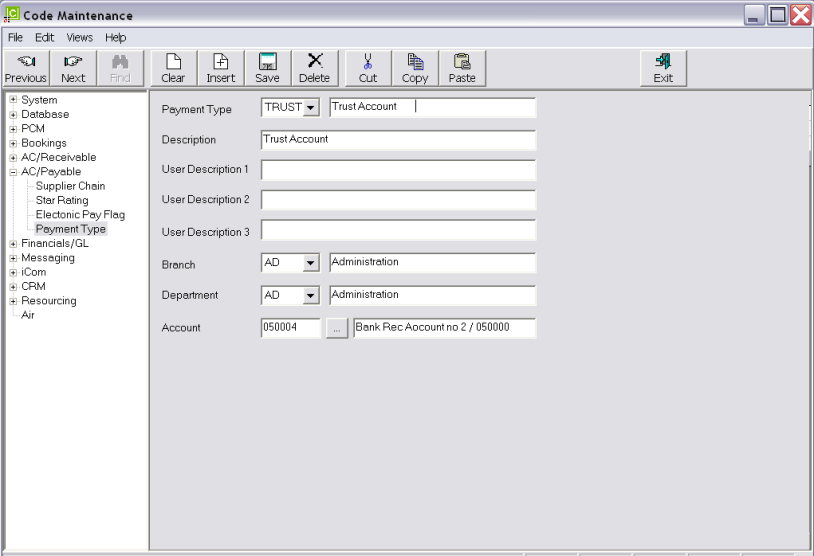
Use the drop downs to select an already created General Ledger account to attach to the Payment Type.
Screen Shot 111: Sample Completed Payment Type Detail
Save
Click the Save button in the button bar to save the payment type.