
On initial entry to the button map node, any existing records will display.
(continued from Service Buttons)
The button map can be used to link a service button to specific Destinations, Locations and Service Types. In the iCom webConnect web page, service searches can be performed based on a destination.
The use of button mappings has been made largely redundant with the advent of the INI setting If this setting is set to Y then all Tourplan locations are automatically also iCom destinationswhich effectively sets all Tourplan locations as destinations. If locations are sufficient as Destinations, then the button mappings can be ignored, and the INI setting ICOM_USE_LOCS_AS_DESTS set to Y.
If specific mappings are required, then it is necessary to set up a mapping for each location times each service code that is available to iCom.
|
|
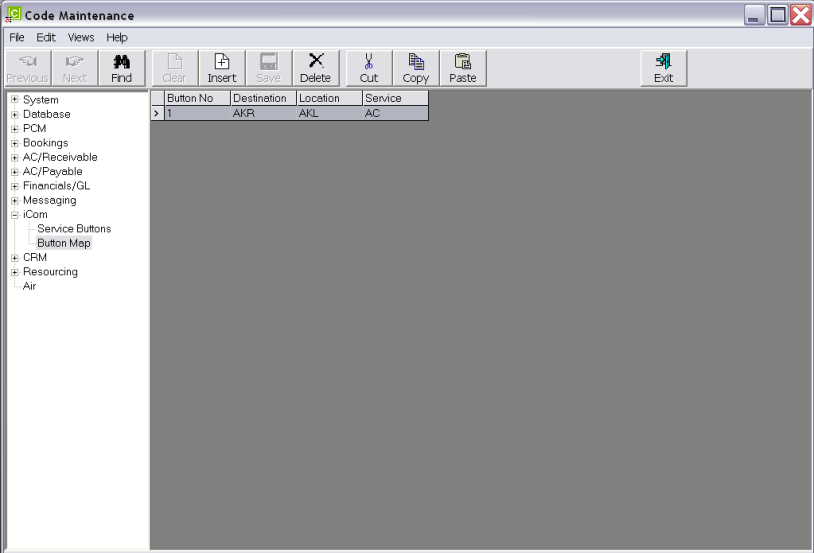
On initial entry to the button map node, any existing records will display. |
To create a new service button, click the Insert button in the button bar.
Screen Shot 151: Button Map Scroll
|
|
The column headings at the top of the scroll are the only column headings available in this screen. |
To modify an existing button mapping, highlight the row and double click.
To delete an existing button mapping, highlight the row to be deleted and click the Delete button in the button bar.
|
|
There is no validation on the deletion of Button Mappings. |
To create a new button mapping, click the Insert button in the button bar.
Screen Shot 152: Button Map Dialogue
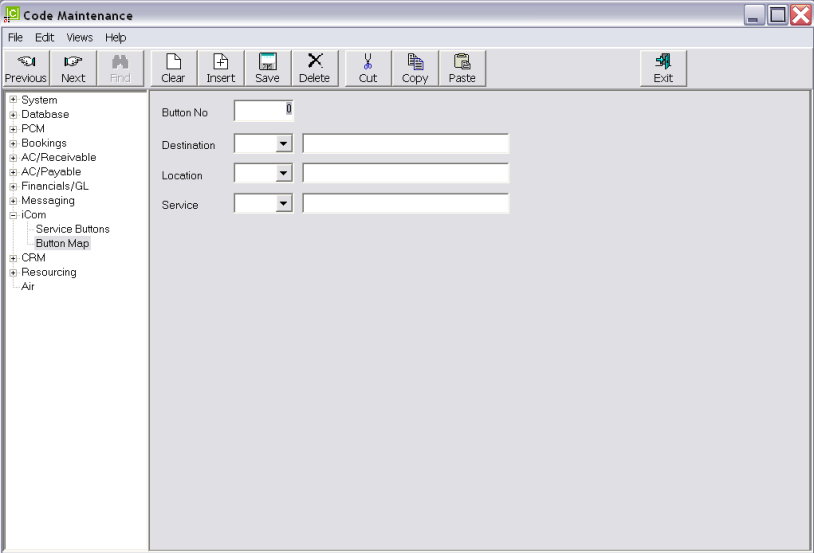
Button No (2 Numeric)
The number of the button that this map applies to.
Destination (Drop-down)
Select from the drop-down the Destination to be associated with the Button, Location and Service. Read more about Destinations setup.
Location (Drop-down)
Select from the drop-down the Location to be associated with the Button, Destination and Service. See Location setup.
Service (Drop-down)
Select from the drop-down the Service to be associated with the Button, Location and Destination. See Service Codes setup.
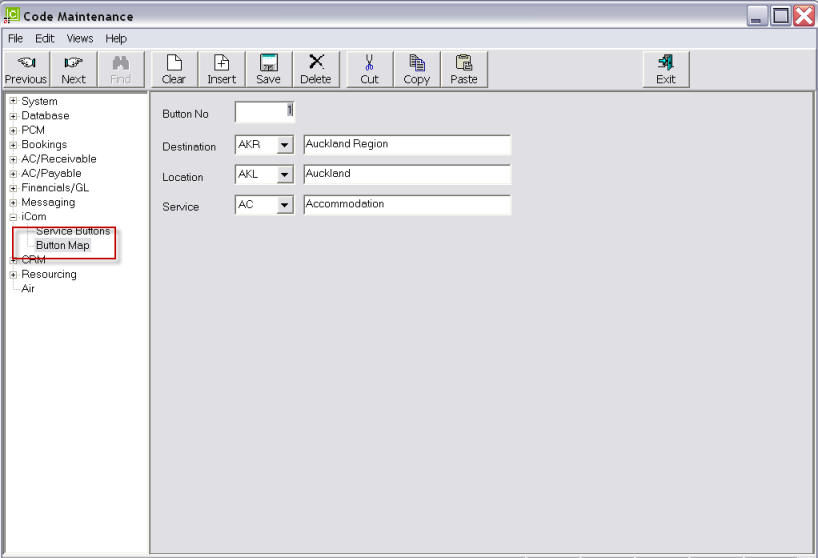
Screen Shot 153: Sample Completed Button Map
Save
When completed, click the Save button in the button bar.
Insert
To insert another Button Mapping, click the Insert button in the button bar.
To return to the Button Map scroll, click the Button Map node in the tree menu, as highlighted (outlined in red) in Screen Shot 153: Sample Completed Button Map.
(continued in CRM System Setup)
 Tourplan iS V2.07 System Setup Training Guide